DIY Wedding Invitations (in under 20 minutes!) – Greetings Island Tutorial
Do you want to have premium-quality wedding invitations even if you’re not creative? Do you also want to customize the invitations to match your wedding theme, but still fit within the budget? Then Greetings Island can definitely help you out!
To be able to create your wedding invitations in under 20 minutes, you would need to finalize these things first:
- Initial Wedding Details (Date, Time, Church, Venue, and Entourage)
- Invitation Wordings
Before we proceed with the Greetings Island website, let’s discuss this first…
Is Greetings Island FREE?
- YES! You can create wedding invitations using Greetings Island for free, but once you download the design, it comes with a small watermark.
- If you do not want watermarked invitations, then here are the Budgetarian options for you:
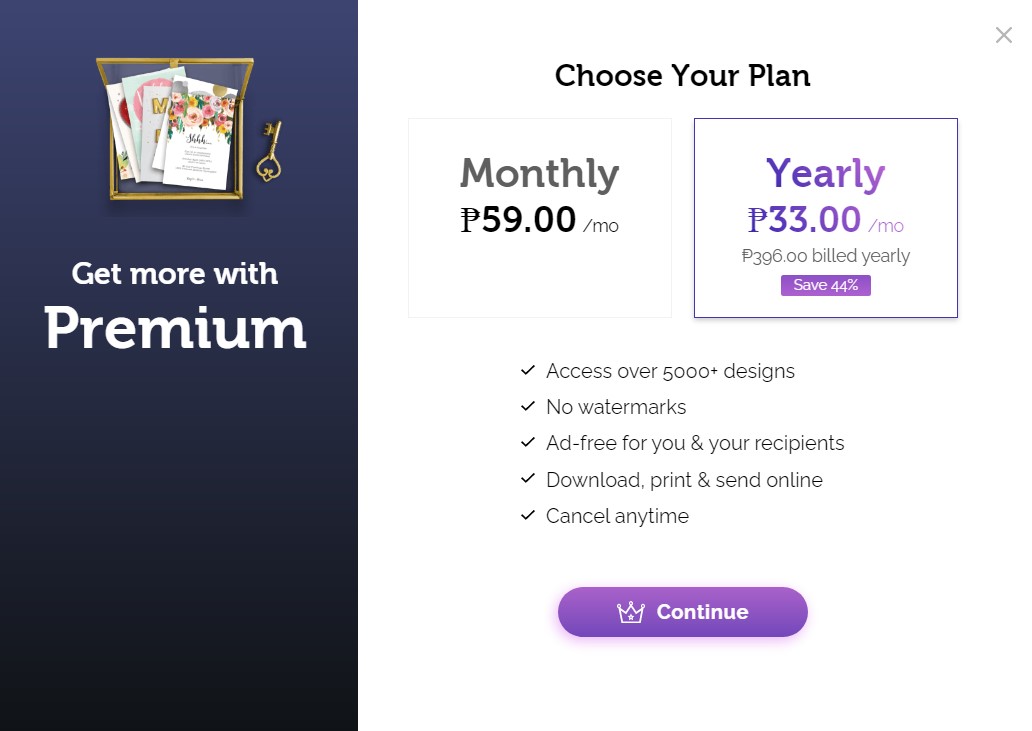
- Go Premium for as low as 59 pesos per month and access thousands of designs and download them without any watermark
- Go Premium for only 369 pesos for a whole year and access thousands of designs and download them without any watermark
- Purchase a specific design for only 149 pesos for a lifetime access
Don’t worry, you don’t have to pay anything right away!
You can visit their website first, see for yourself and try some designs. If you fell in love with any invitation design, that’s the best time to go premium. And for a fraction of a cost, you can enjoy over 5,000 invitation designs.
Let’s start exploring!
Step 1: Choose Your Invitation Design
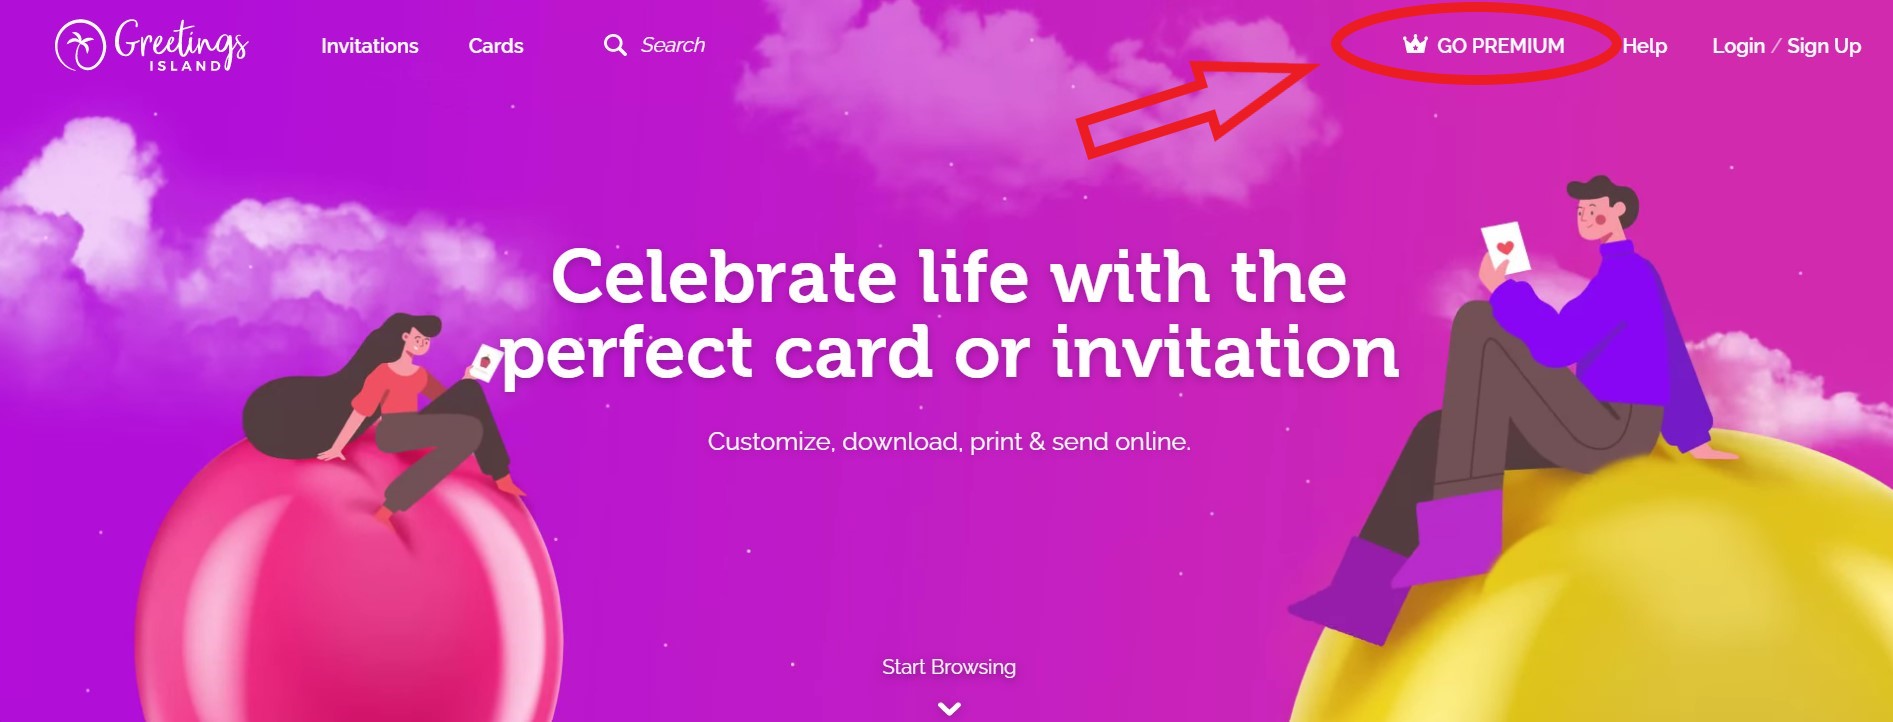
Visit their website by clicking this link: Greetings Island then you will be redirected to the hundreds of wedding invitation designs. For an easier search, you can select any theme on the left side of the website.
If you prefer to display a photo on your invitation, just click the box for photo only.
Lastly, you can also narrow down your search by deciding on the card orientation: Portrait, Landscape, or Square.
After you tick the boxes for your preferences, you can now choose the most suitable invitation design for your big day.
Step 2: Customize Your Wedding Invitations
Now that you have chosen “The One”, it’s time to customize!
- Adjust the Wordings – One of the good things about the invitation designs on Greetings Island is that they already come with matching fonts, so you don’t have to worry about it. If the position of the texts is alright with you, then all you have to do is modify it with your personal details.
- Change the Font/ Format – And if you want to play with the font styles and sizes, you can do so. This website also comes with lots of font styles that you can mix and match. Aside from the font, you can also re-arrange the format of the invitation as you please. You just have to drag and drop the words to re-arrange them
- Add New Text – You can also add another line of text if you still need some more text spaces to include your wedding details, just click the “T’ icon on top.
- Remove Text – Contrary to the “Add New Text” button, you can also remove unnecessary text spaces if you can’t utilize them Just click on the text that you want to remove, and the delete icon on the bottom left will appear.
- Add Sticker/Image – If you have chosen an invitation design with photo/s, all you have to do is to add an image using the “Add Sticker/Image” button on the upper right. Once the image is added, you can drag and drop to your desired spot, and the size is also adjustable.
Step 3: Save Your Wedding Invitations Draft
Once you’re done with the first page of your wedding invitation, you can save it as a draft first as you create the next pages. You can only work with one page at a time.
If in case your entourage line up is not yet finalized, saving it as a draft would be beneficial until you finalize all the wedding details.
Step 4: Create Page 2 and 3
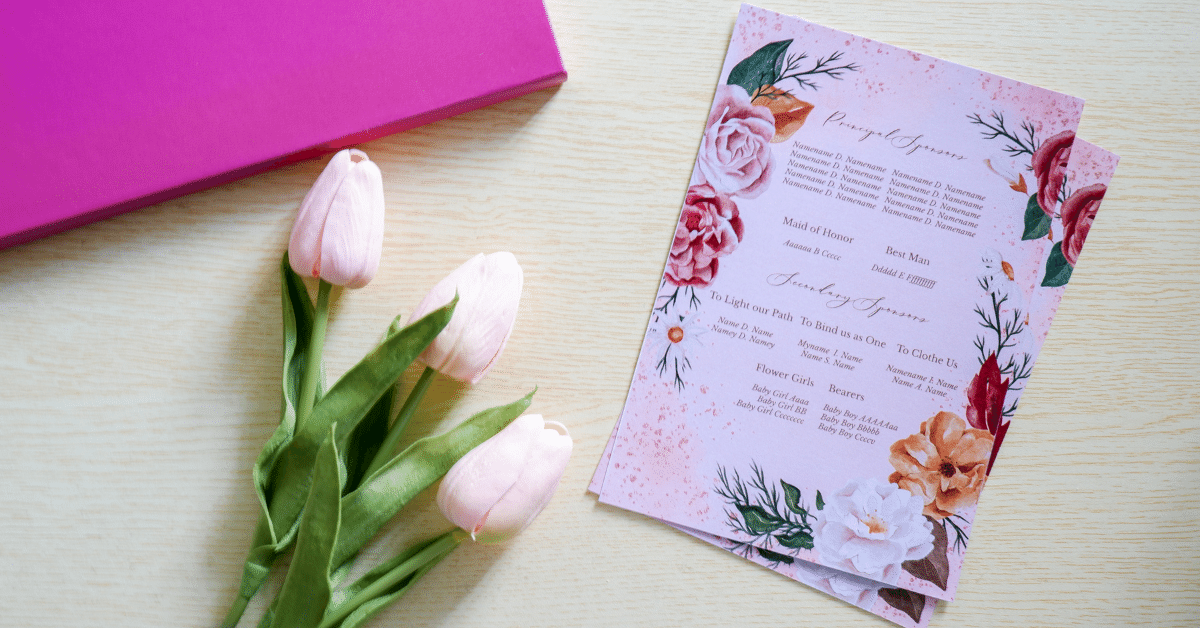
Usually, for the Filipino invitation, we use 3 to 4 pages to include all the necessary wedding details.
On the first page, this is where you’ll see the Bride and Groom’s Name, Wedding Time and Date, Church, and Reception Venue. Then on the second page, you’ll see the list of names of the entourage together with their role. From Principal Sponsors down to the bearers. If the couple has a long list of the entourage, this section usually extends up to two pages.
And on the last page, this is where you can see all the reminders like dress code, preferred gifts, and any personal requests by the couple.
When using Greetings Island, you just have to open a new tab of the same invitation design for every additional page you wish to add. To help you create these pages, you can refer to our Invitation Wordings full guide.
Just a quick tip, to make your wedding invitations look uniform from the first to the last page, be consistent with the font styles that you use.
Step 5: You Can Download, Print Now, or Send Online
Once you’re done with all the pages of your wedding invitation, you can now proceed with either of these three options:
- Download
- Image – If you want to send e-invites or digital invitation to your guests, you can choose this option so the invitation you created becomes an image.
- PDF – If you want to have it printed in a printing shop, it is recommended to download this as PDF. Greetings Island already scaled this for printing.
- 1 invitation on a paper (7.7″x11″)
- 2 invitations on a paper (5″x7″) *recommended invitation size
- 4 invitations on a paper (3.5″x5″)
- Print Now – If you have your own printer at home, you can print your invitation right away. Just double check that the scale is set to “default”.
- 1 invitation on a paper (7.7″x11″)
- 2 invitations on a paper (5″x7″) *recommended invitation size
- 4 invitations on a paper (3.5″x5″)
- Send Online – Greetings Island can help you out if you want to automate sending your wedding invitations online. With their website, you can easily create an event page so guests can automatically receive their invites online. Plus, they can RSVP on your event page, too. And you can modify the settings so you get notified if someone sends their confirmation or comments.
And, that’s it! You now have your premium-quality wedding invitation under 20 minutes and under 100 pesos, thanks to Greetings Island. Happy Preps!